Can You Use Digital Night Vision During the Day?
Can you use digital night vision during the day? In many cases, yes. A digital night vision device uses a camera sensor and a screen, so it can show a daytime picture when it is in its normal color mode. The important part is understanding which mode you are using. Turn the infrared illuminator off in daylight, keep the lens cap open, and use the regular color view. At night, the device can switch to a black-and-white image and add infrared light when the surroundings are too dark.
That sounds simple, but it is easy to get a washed-out screen, a dim picture, or a view that feels too zoomed in if the settings are wrong. We sell digital devices, and many first-time buyers assume “night vision” means the unit only works after sunset. It does not. Here is how to use one in daylight, what to check if the picture looks strange, and when a daytime view is useful.
How a digital night vision device handles daylight
Digital night vision is closer to a compact camera with an eyepiece screen than to a traditional optical binocular. The sensor gathers light, the electronics process it, and the screen shows the result. In daylight, there is already plenty of visible light for the sensor, so the infrared illuminator usually does not need to be on.
Most digital models offer a color view in ordinary light. When light gets low, night mode increases the sensor’s sensitivity and the built-in IR illuminator can light nearby subjects. With IR on, the view is normally monochrome. In other words, color is the usual daytime experience; IR is a tool for darkness, not a daytime enhancement.
This is why switching IR on outside at noon is not a shortcut to a brighter or sharper picture. The extra light has little value when the scene is already bright, and it can make controls harder to interpret. For a first daylight check, set the device to its regular color mode and leave IR off.
A quick daytime setup
Use this short checklist before you head out:
- Open the lens cover. Some covers are easy to miss when you are packing quickly.
- Turn the IR illuminator off. Look for an IR or illumination control; settings differ by model.
- Choose the regular color mode. If the screen is black-and-white, check the display mode before changing brightness.
- Start at low digital zoom. Use the native view first, then add zoom only when you need a closer look.
- Set focus for the distance in front of you. A close object and a far tree line will not necessarily look sharp at the same adjustment.
- Adjust screen brightness in small steps. A bright screen can make a dimmer outdoor scene harder to judge when you look away and back.
If the image still looks wrong, change one setting at a time. That makes it easier to tell whether the cause was IR, display mode, zoom, or focus. A quick reset to the default picture settings can also help if several controls were changed during an earlier night outing.
What daytime viewing is good for
The daylight view is useful for learning the controls before dark. You can find the focus ring, practice switching modes, check where the record button is, and confirm that the screen is comfortable for you. That small practice run saves time when you are outside after sunset and do not want to learn the menu by feel.
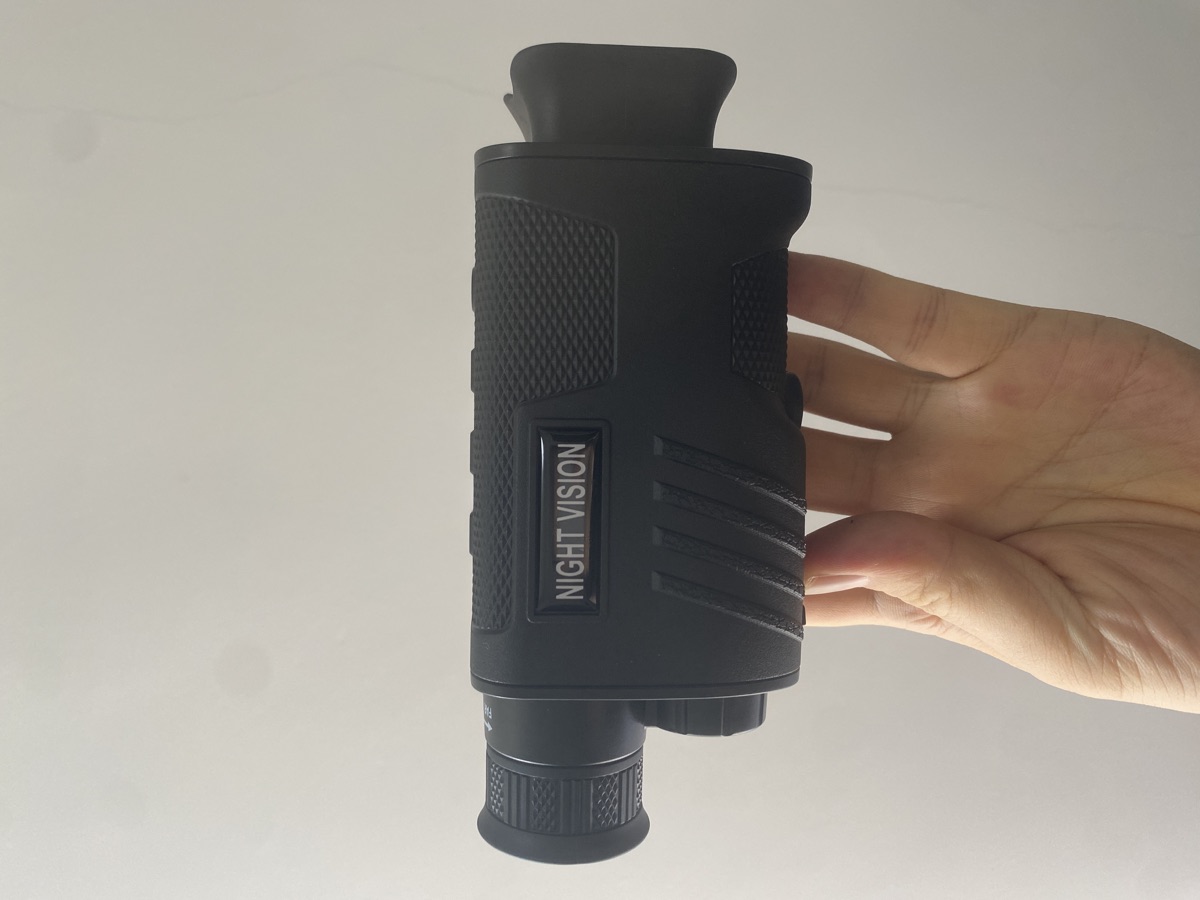
Daytime use can also help with ordinary outdoor observation. You might scan a trail, look across a yard, or use the device’s camera and recording features in normal light. A handheld VoiTrek monocular with 1080p video is one compact option if you want a single-eye device. Its product page lists 2x optical magnification, up to 8x digital zoom, and an 850nm IR illuminator for dark conditions.
Keep expectations tied to the actual task. A digital night vision screen is handy for observing and recording, but it is not a replacement for a phone camera in bright daylight or for ordinary binoculars when you only need a direct optical view. The small screen, digital processing, and zoom controls change how the picture feels.
Day mode versus night mode
- Color mode, IR off: A color image using ambient light. Use it in daytime, at dusk, or in a well-lit area.
- Black-and-white night view, IR off: A low-light image without added IR light. Use it when moonlight or other ambient light is available.
- Black-and-white night view, IR on: A monochrome image with the built-in illuminator assisting the sensor. Use it in very dark areas where the device needs added light.
The exact names in the menu vary, but the practical pattern is the same: daylight needs no active IR. In low light, try IR off first if there is enough ambient light. If the view becomes too dark, switch IR on and adjust its level gradually. The picture should be judged at the distance you actually plan to observe, not by the illuminator’s range number alone.
Why the picture can look poor in bright light
The screen looks washed out
Check that you are in color mode and IR is off. Then lower screen brightness one step and look at an object with both light and shade. A screen that is set for a dark campsite can feel glaring under a bright sky.
The image looks soft
Make sure the subject is not too close, adjust focus slowly, and reduce digital zoom. Digital zoom enlarges the image on the screen; it does not add detail that the sensor did not capture. If you are switching between a nearby branch and a distant hillside, refocus for the new distance.
The screen is monochrome
That usually means the device is still using its night display mode. Turn IR off and select the normal color setting. The IR light itself is not what creates color; it helps the sensor see in darkness, and the result is usually black-and-white.
The image is darker after sunset
That is expected. As visible light falls, the sensor has less information to work with. Try a brighter location or use the IR illuminator if your model provides one. Do not assume a higher video resolution will solve low-light conditions by itself. Resolution labels describe recorded output; they do not remove the limits of the sensor, lens, screen, or distance.
Which specifications matter for day and night use?
It helps to separate three different things before comparing models:
- Live viewing: what appears on the built-in screen while you are looking through the device.
- Recorded resolution: the format used for saved video or photos. It can be useful for reviewing a clip later, but it is not the same as live-screen clarity.
- IR capability: the illuminator’s wavelength and adjustment options for dark conditions. It is mostly irrelevant in daylight, when you should leave IR off.
For example, the VoiTrek NV-DT19 monocular is listed with 2.5K video, 40MP photo capture, 7x IR, and 8x digital zoom. The NV-DT29 binocular is listed with a 3-inch screen, 2.5K video, 40MP photos, and an 850nm IR spotlight. Those numbers tell you what features each listing offers; they do not mean every daytime scene will look identical or that a faraway subject will be recognizable.
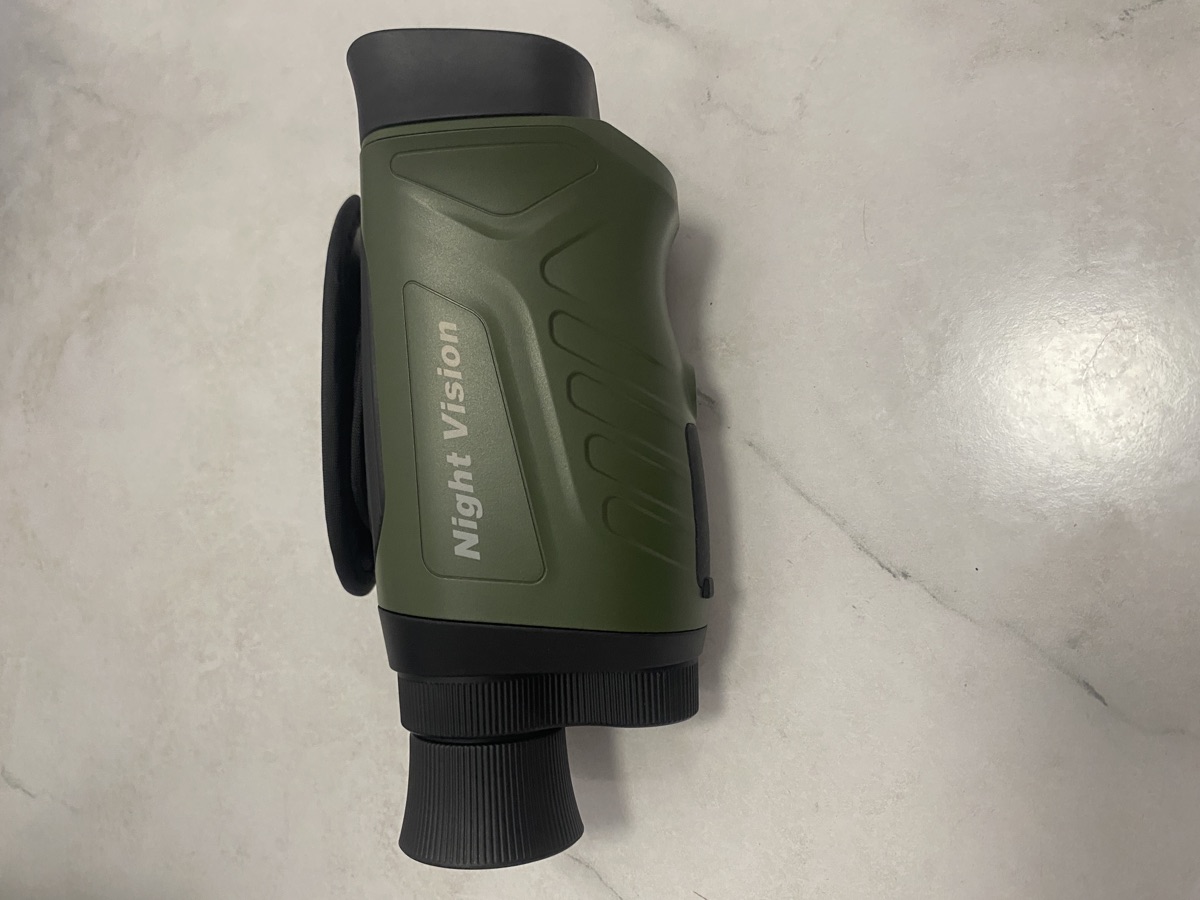
If you mainly want a comfortable handheld device for looking around in daylight and then checking a yard after dark, compare the screen, grip, controls, weight, and how you plan to use it. If your main need is recording, compare the video format and storage support. If your night outings are in very dark areas, pay more attention to IR adjustment and realistic viewing distance. Pick based on the way you will use it, not one large number on the box.
A few habits that make switching easier
Practice the color/IR controls at home before carrying the device on a trail or campsite. Keep the IR setting off as your daytime default. After sunset, test the view in a nearby area first, then increase IR only as much as you need. That gives you a more predictable image and avoids lighting up close objects unnecessarily.
Keep the lens clean with the cloth supplied for the device, and store the unit with its cap on when it is not in use. If your model records photos or video, test a short clip in daylight and check the file before relying on it during a trip. Confirm that the storage card is recognized and that the date and time are set if those details matter to you.
Most importantly, do not use an unfamiliar device as if the menu labels were universal. Read the instructions for your specific model. One device may call its mode “color,” another may call it “day,” and a button may perform more than one action depending on how long it is pressed.
Frequently asked questions
Can digital night vision be used in daylight?
Yes, many digital models can show a normal color picture in daylight. Use the regular color mode and keep the IR illuminator off.
Should I leave IR on during the day?
No. IR is intended to assist the sensor in darkness. In daylight, use the normal color view with the illuminator off.
Why is my daytime picture black-and-white?
The device may still be in night mode. Check the display mode and turn off the IR illuminator, then switch to color mode if your model offers it.
Does 4K or 2.5K mean the live view will be equally sharp?
Not by itself. Those labels usually describe recorded video output. Live viewing also depends on the sensor, lens, screen, focus, lighting, and zoom.
Can I use digital zoom for a distant subject in daylight?
You can, but start with little or no digital zoom. More magnification makes the subject larger on the screen while also making shake and softness easier to notice.